Restoring and modding an Amstrad CPC 6128 by C-E with photos
-After the reparation of an Amstrad Notepad NC200 by C-E, it's the turn of the reparation and modding of an Amstrad CPC 6128 (copy and paste of a CPCWiki message with the permission of C-E, thanks to him).
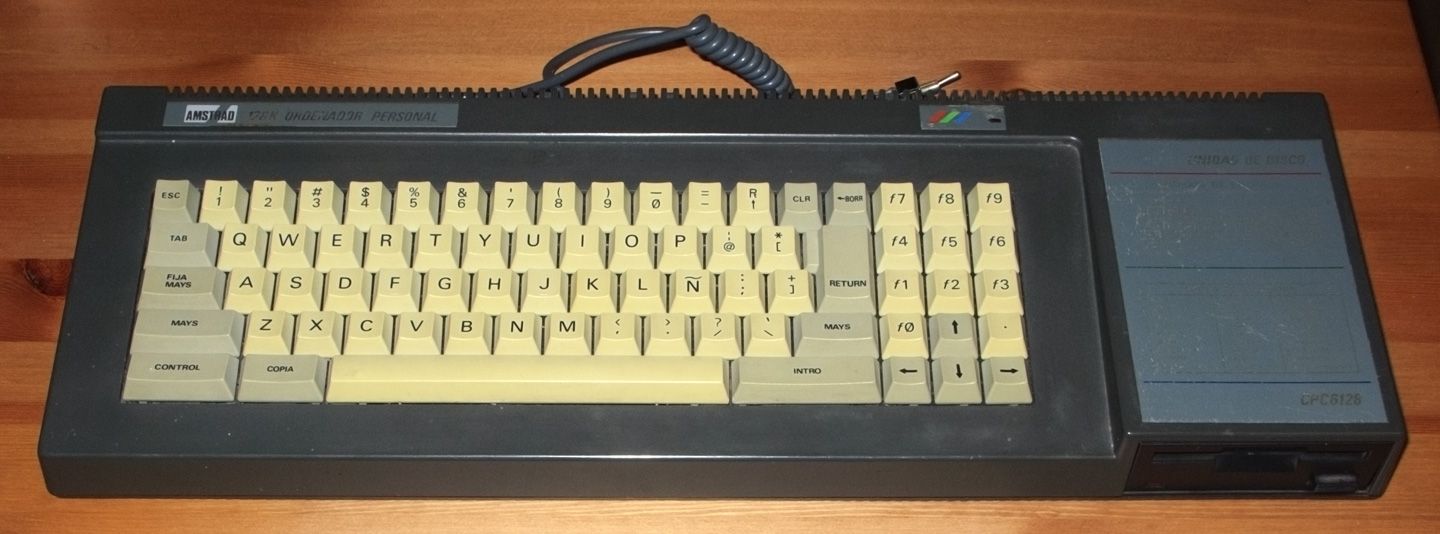
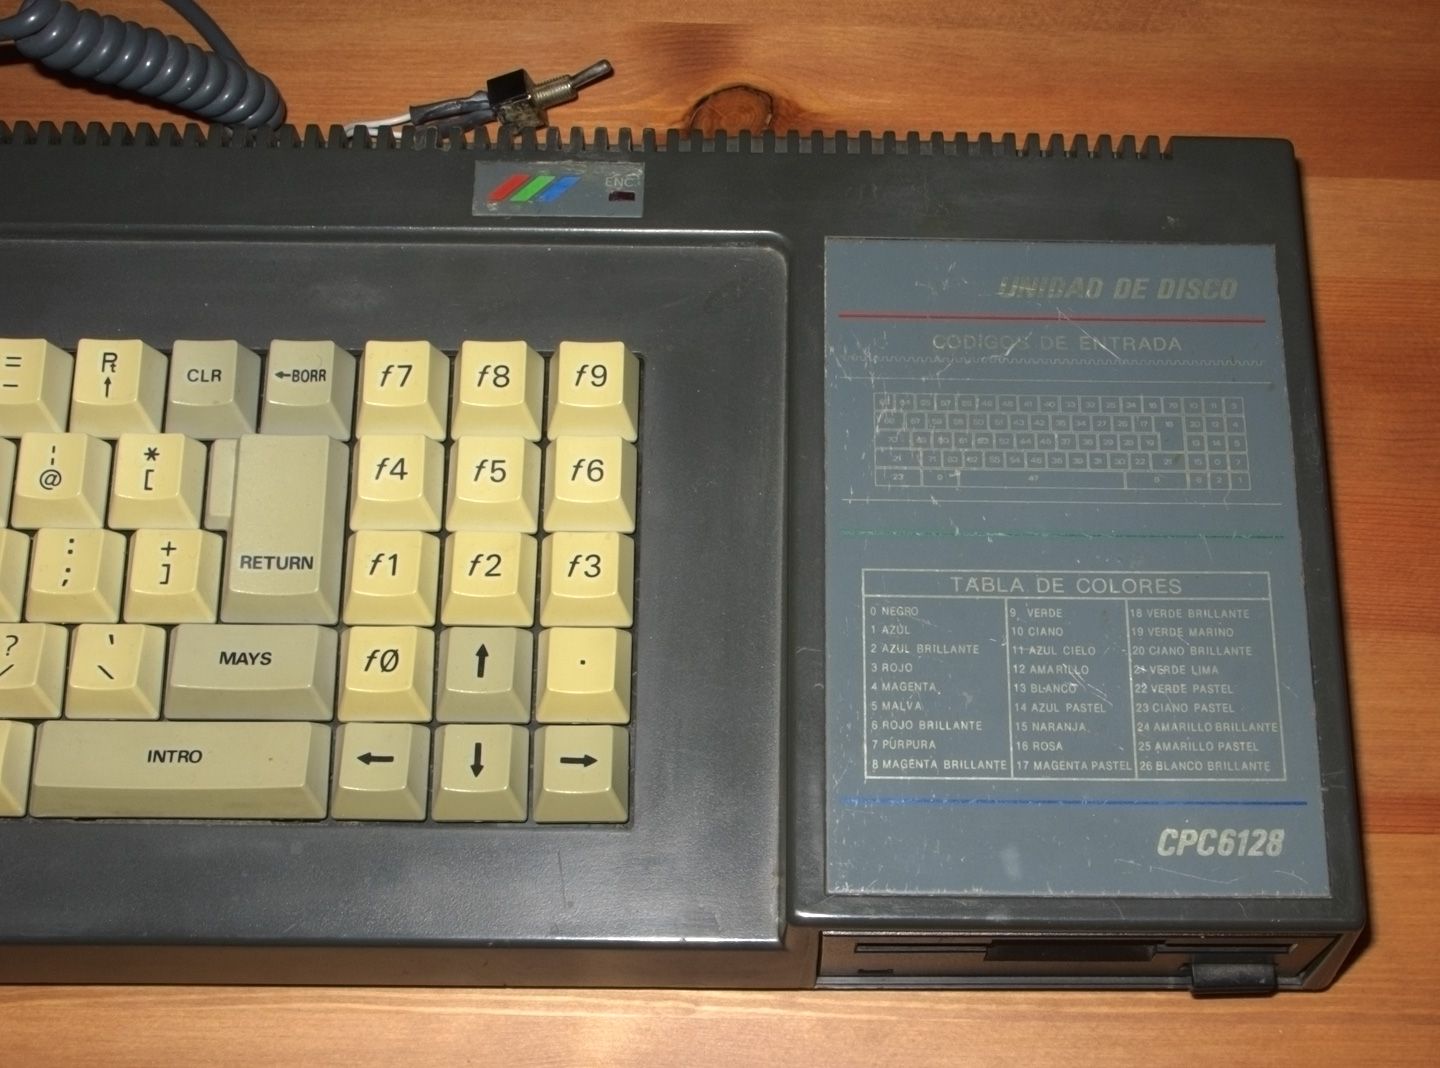
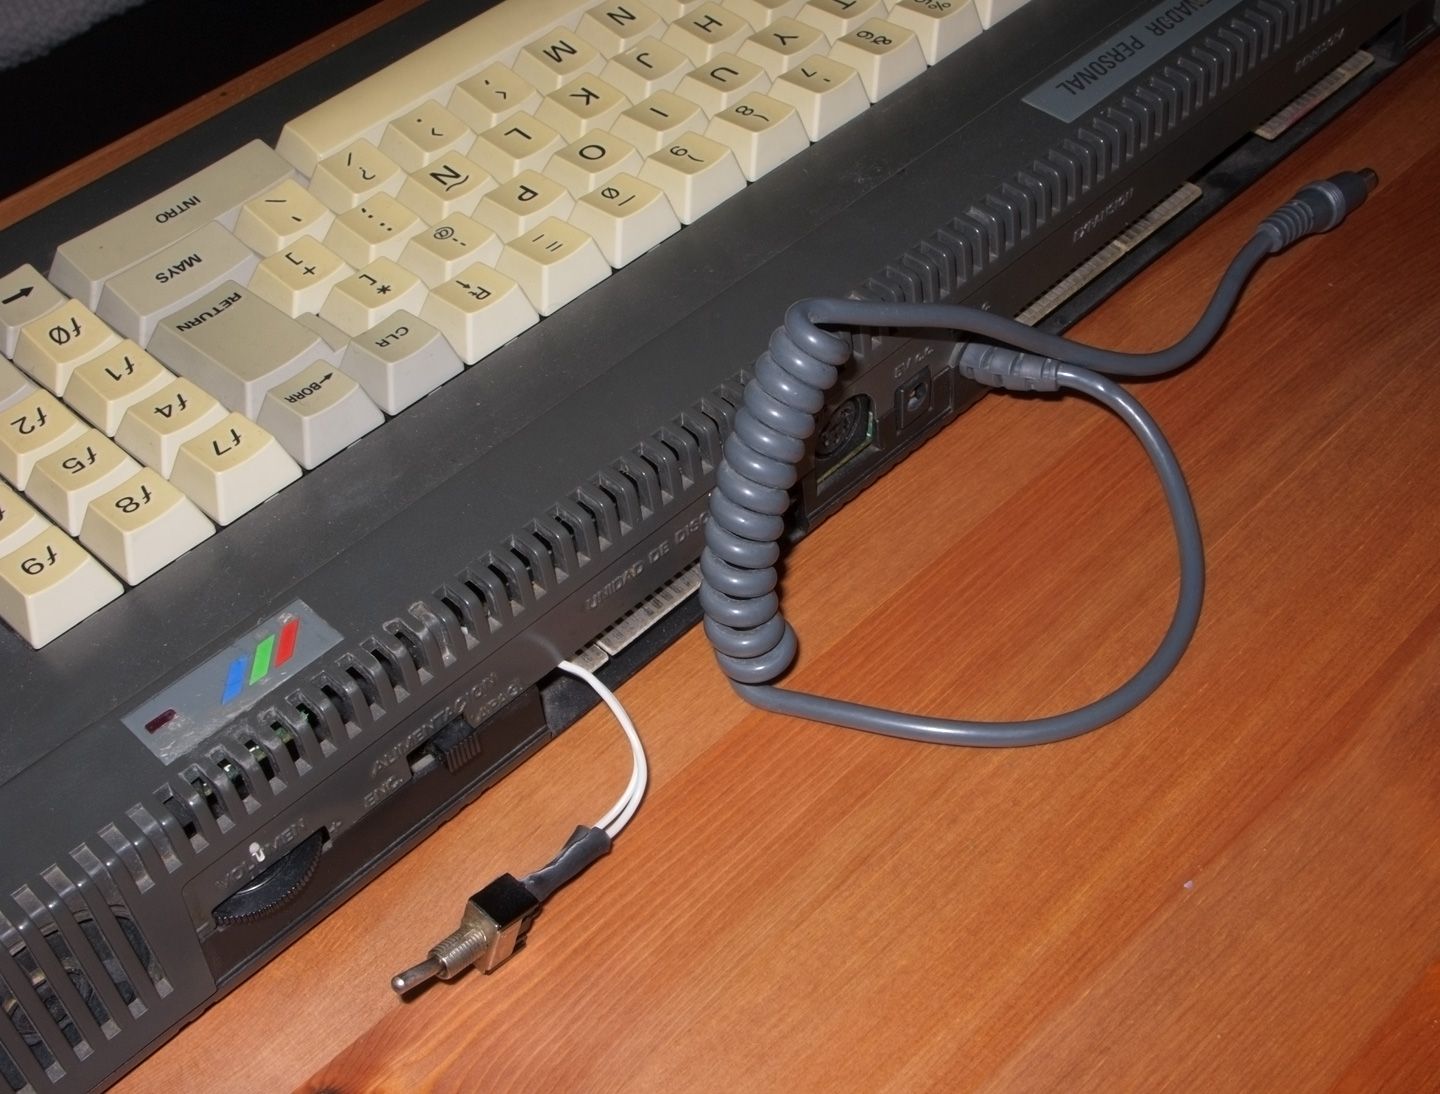
Last time I went to Spain I was digging in my old bedroom, that is basically a time capsule that takes you back to the 80s/90s, and I found my original CPC 6128 hidden in a closet along with the color monitor that came with it. There was also an old PC PSU I was using to power the computer, a 3.5" drive, a few home made cables... It seems that I put everything there when I was given a bunch of Pluses for free in 1997. After that, I was mainly using a 6128 Plus. The poor guy was pretty battered: very yellow keyboard that is probably not original (those keys look like coming from a Plus); a crappy ABBA switch hanging from a pair of cables; lots of scratches here and there...
However, despite its condition, this Amstrad is still very important for me. I spent my childhood with the machine, me and my friends played countless games on it, I used it to program a lot of crappy stuff and a few "games"... in summary, lots of great memories. So, when I came back to UK I brought the guy with me to restore and mod it :)
This is what I am planning to do:
- New caps
- Dual OS
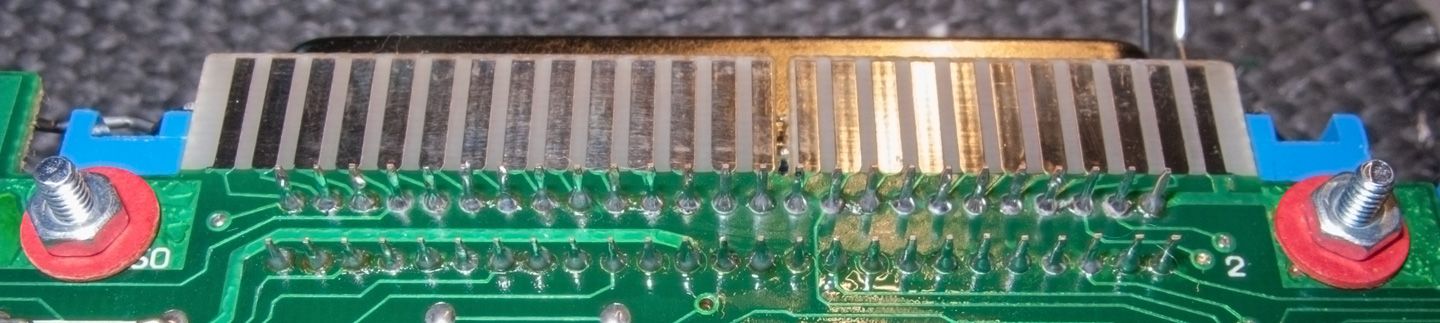
- Centronics ports
- ABBA switch (a decent one)
- Reset switch
- 5VCPC
- Floppy drive restoration
and, if possible, internal RAM expansion.
Externally nothing will change besides the little hole for the reset switch and the case modification required to fit the Centronics ports. It will look like a Schneider 6128.
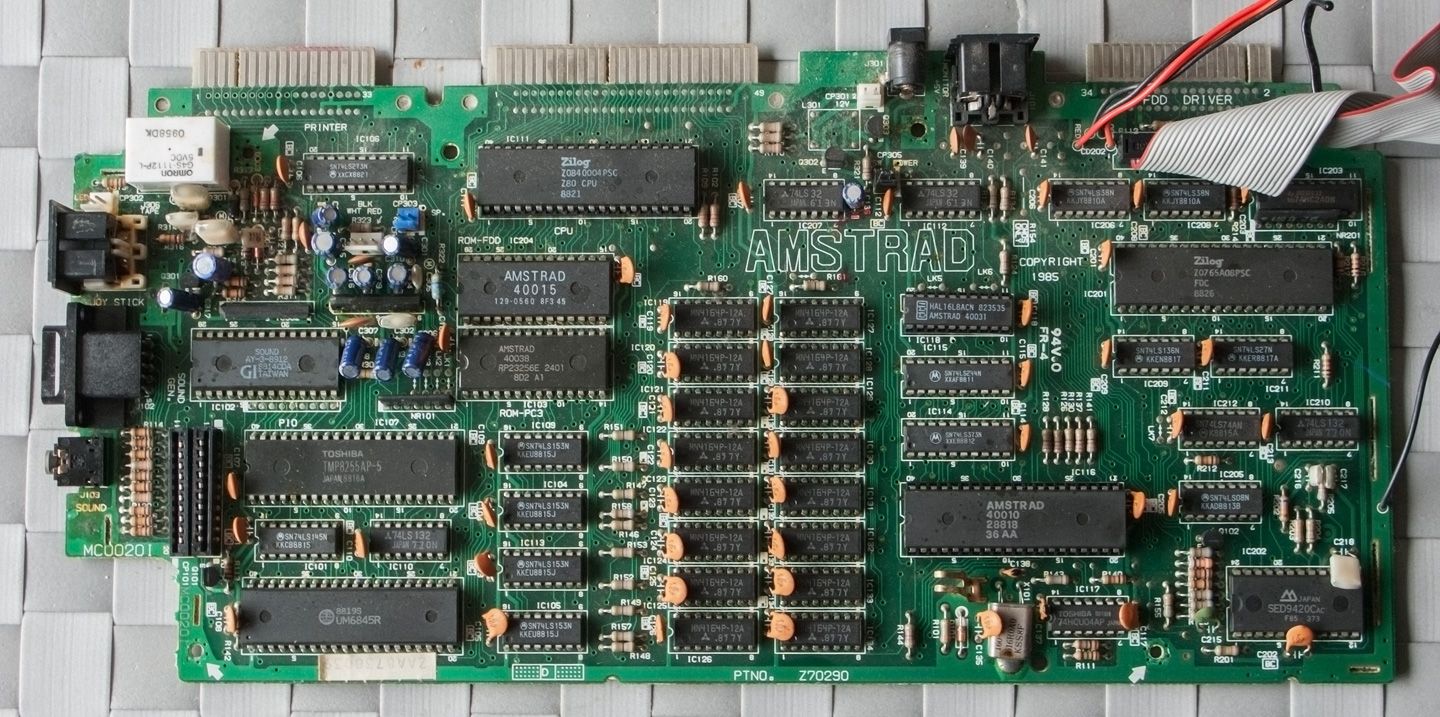
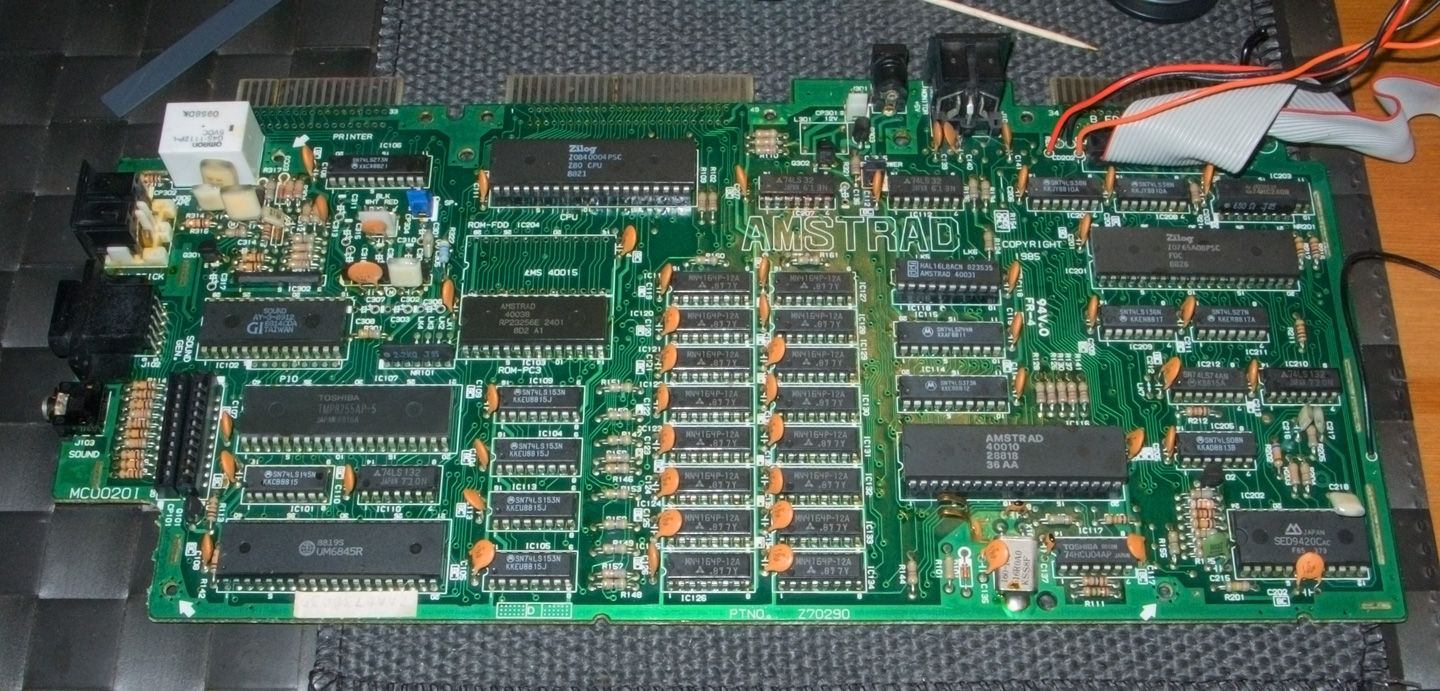
So... I finally had time to do something with my old 6128. It is still a work in progress but I thought that I could give you an update and show some pics :) . The first thing I did was just to remove the board from the case and clean it a bit. Here is how it looked before cleaning. It is a 6128 board version 2.
Then, I removed all the electrolytic caps, the 40015 and the solder that was filling the holes for the centronic ports. To remove the 40015 I simply cut the pins and then they were removed one by one. I was using the old good braid all the time. Here is the stripped board.
Before going on, I think that it is worth saying that it is NOT necessary to remove all the electrolytic caps in a CPC 6128. The only one that can be problematic if you install the 5VCPC is the cap near the power socket. Bryce found that if it is not OK the computer will likely reset. I just decided to replace them with high grade new ones because I felt like doing it, nothing else :) . In any case, if you decide to change the electrolytics, pay attention to one that is near the AY, it is a 50V 1uF NON POLAR cap.
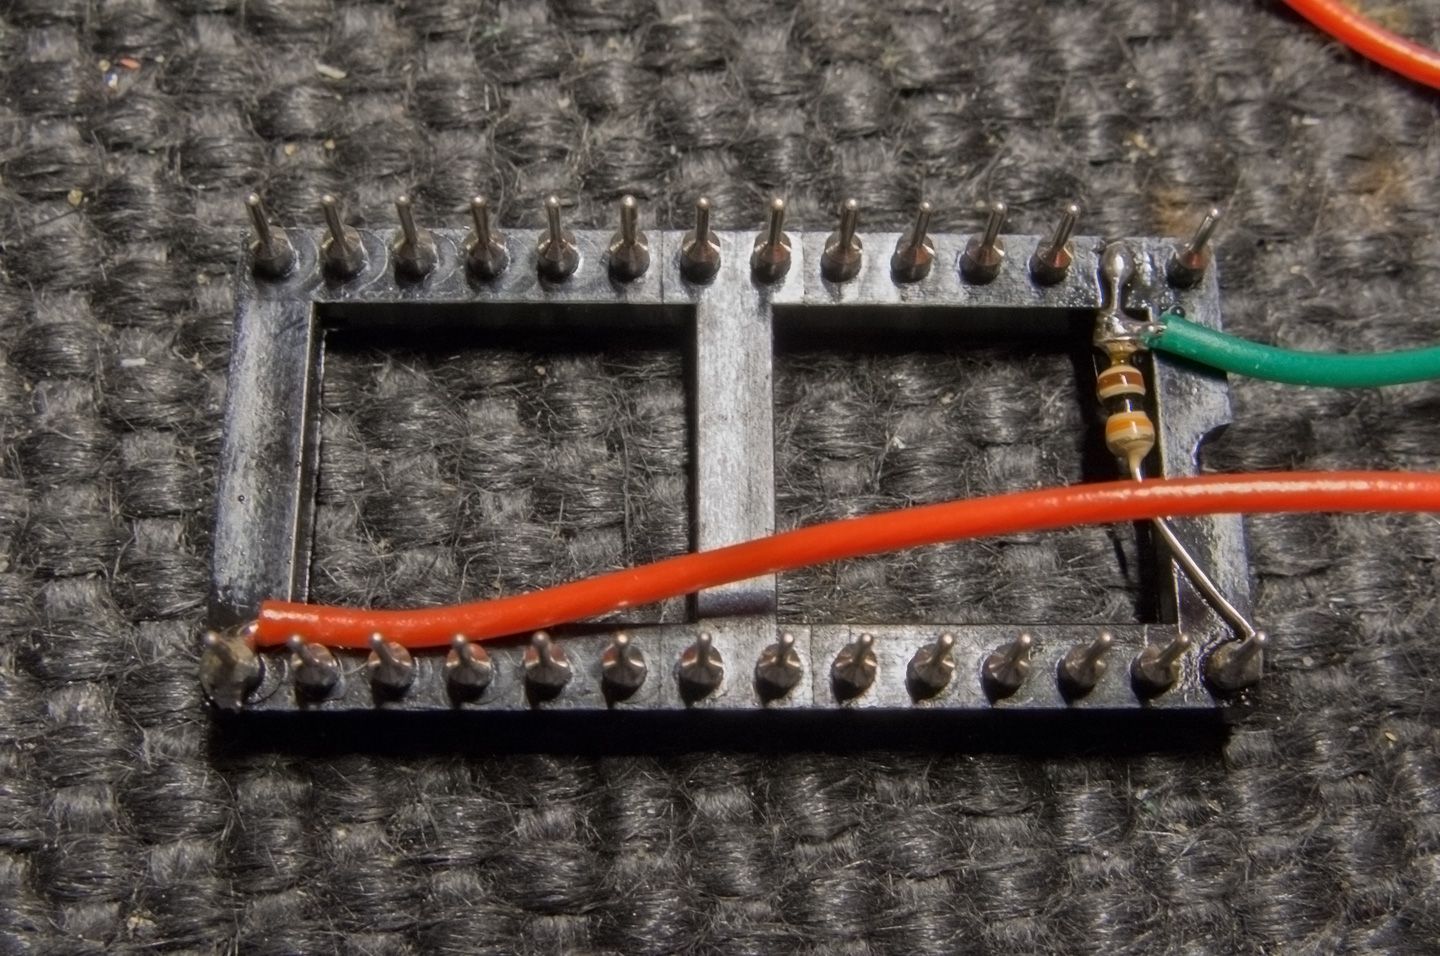
The next step was to prepare the socket for the dual OS. I followed this tutorial from Bryce that describes all the necessary steps in great detail. This is my modded socket :
After this I recapped the board and soldered the socket in place :

Finally I installed the new ports. I attached them to the board first using screws and nuts and then I soldered the leads. There are quite a few, but it is still a reasonably fast process.
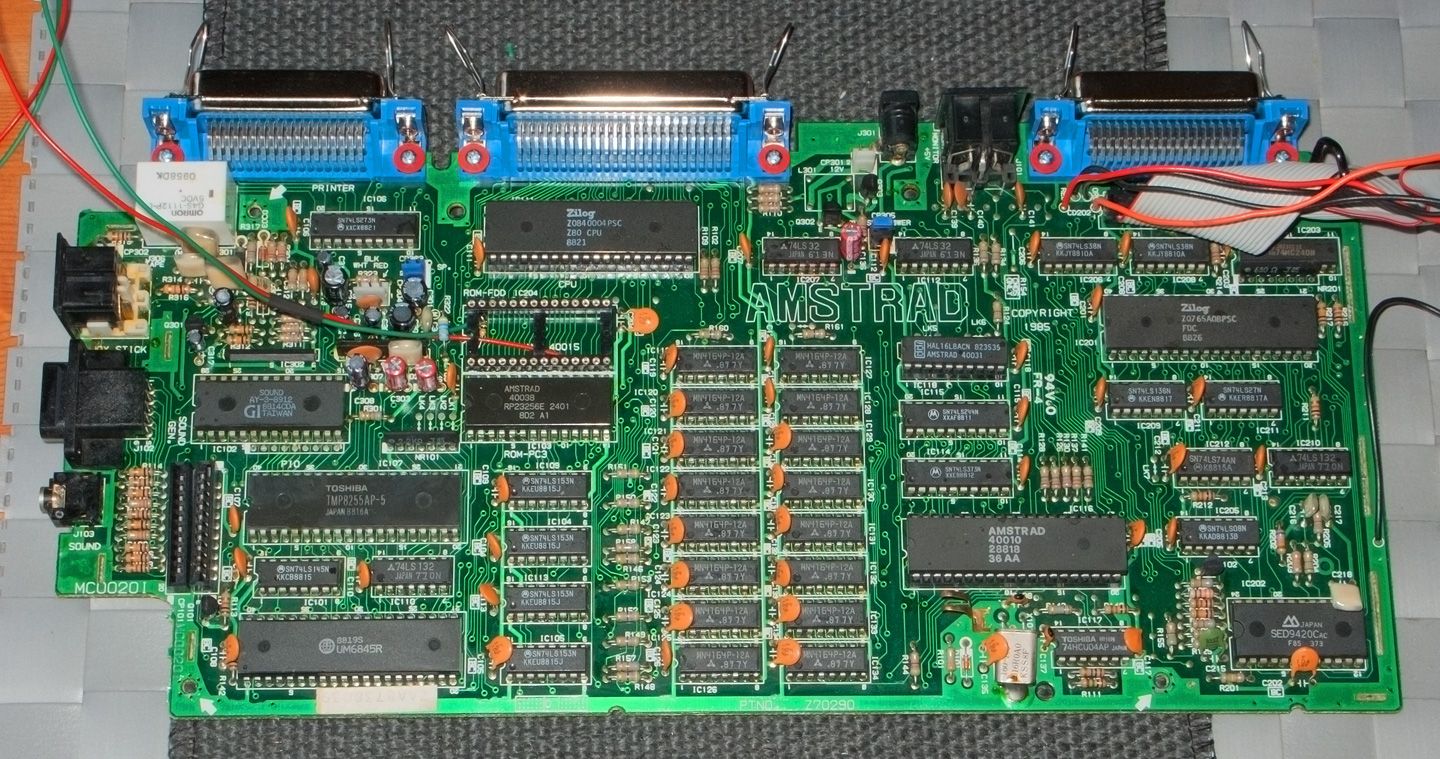

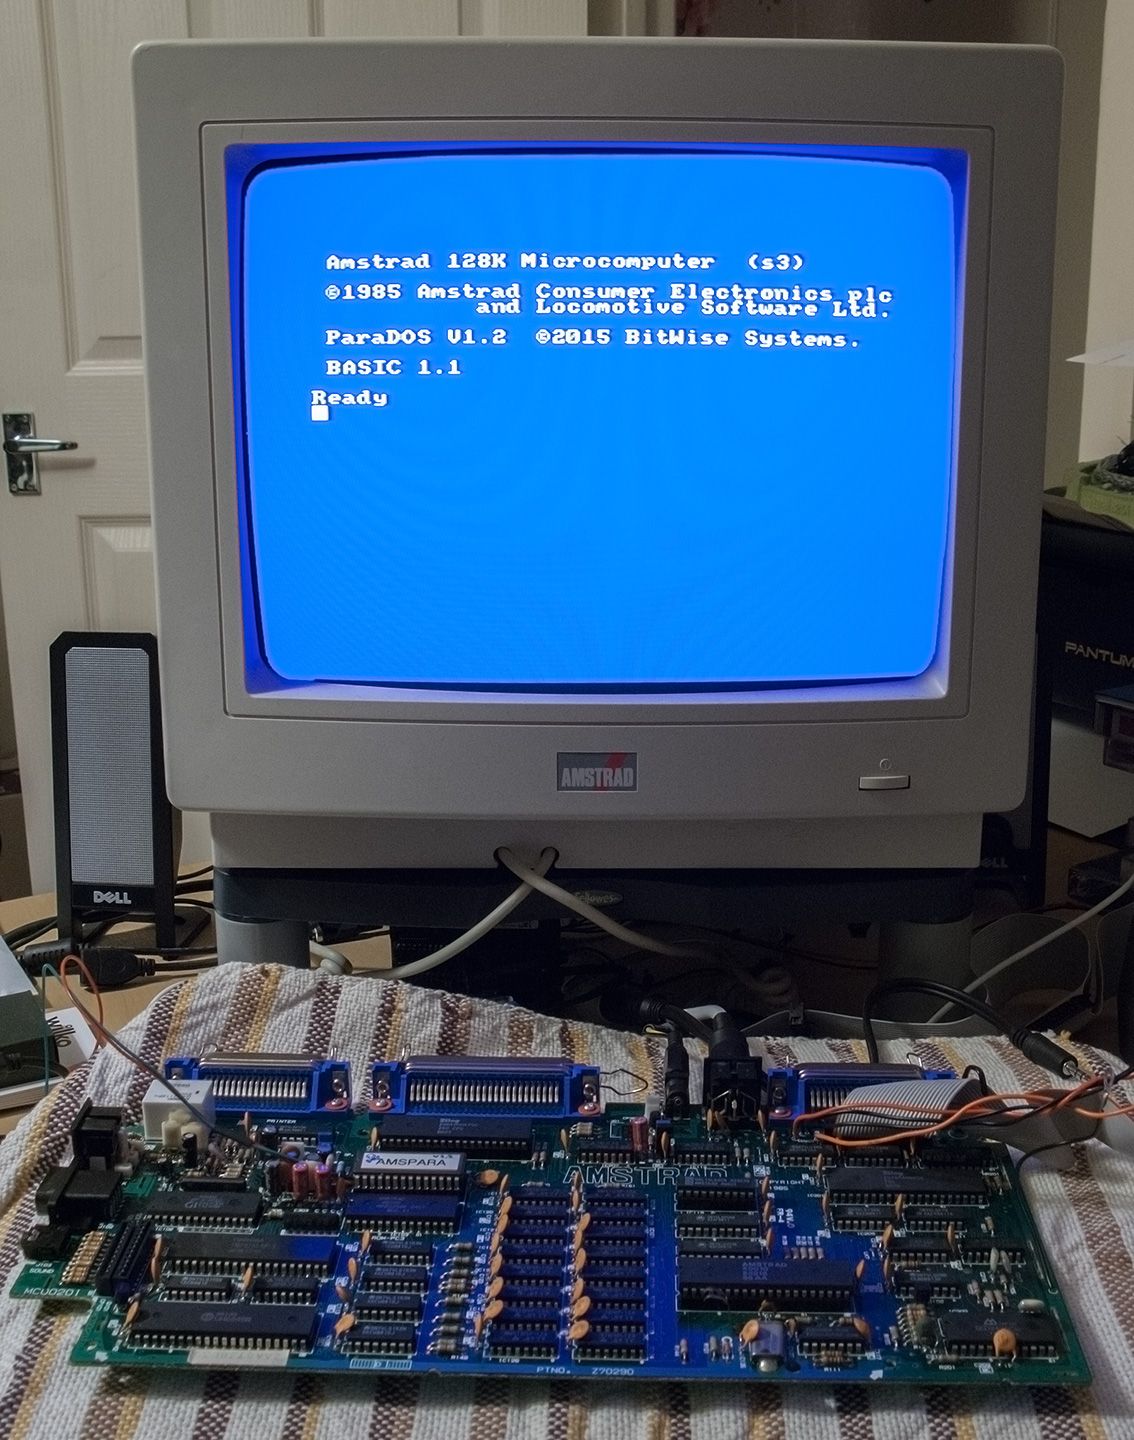
And it seems that it works... :)