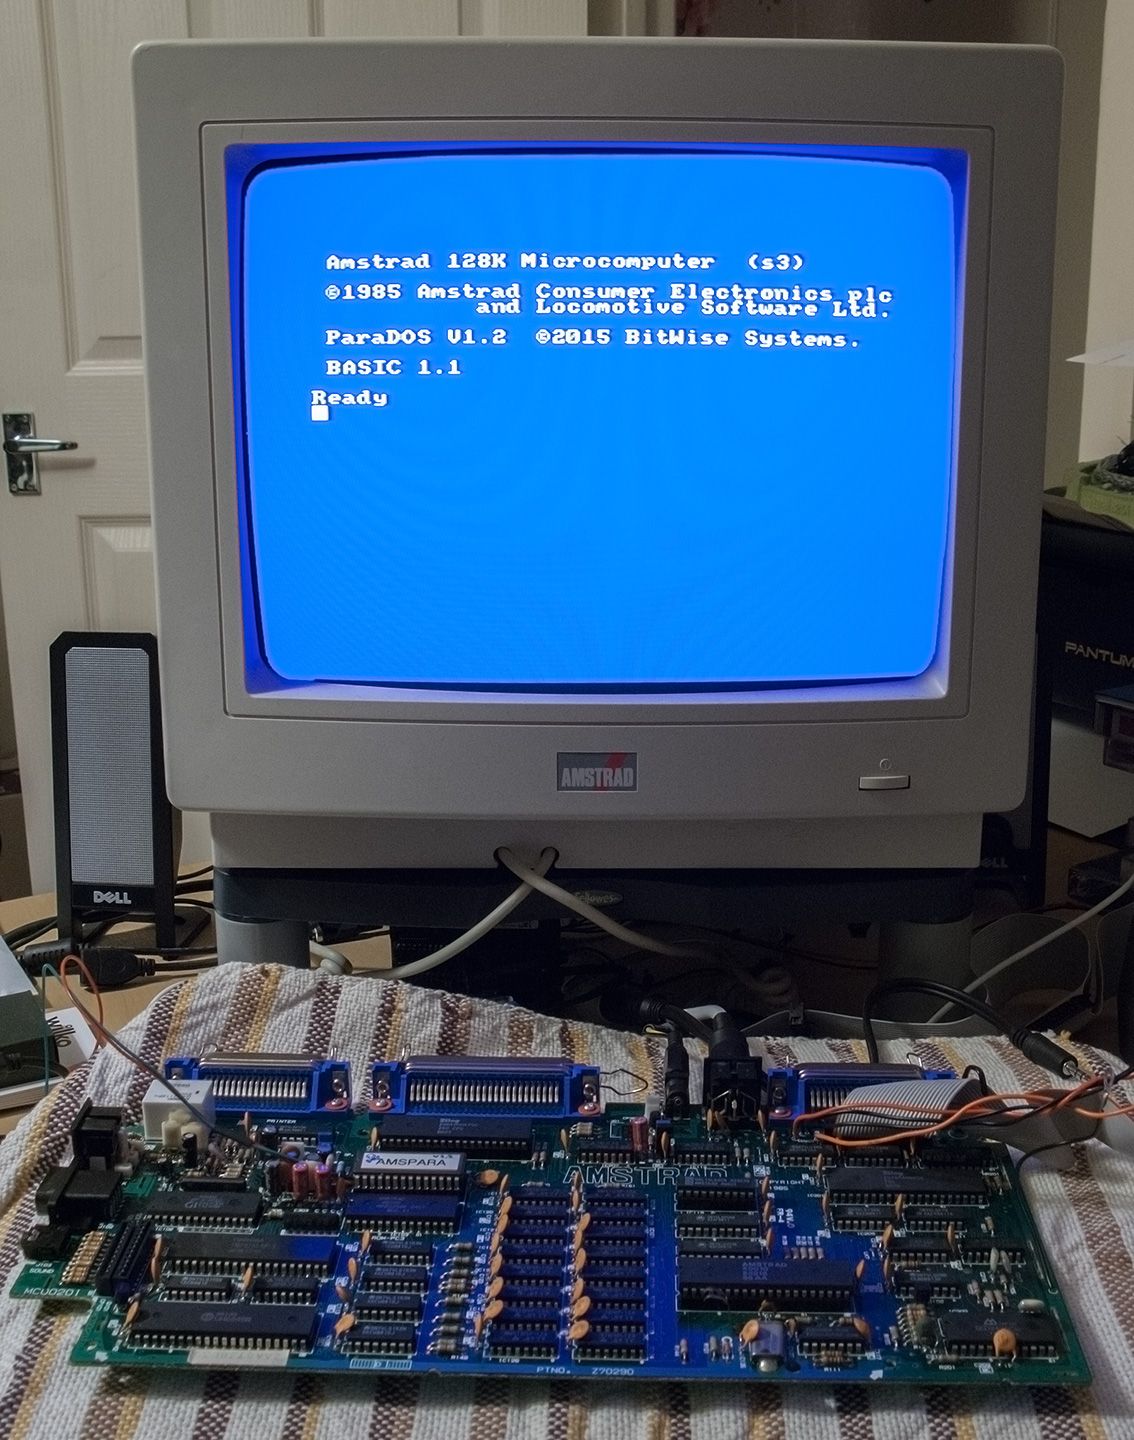
Réparation et modding d'un Amstrad CPC 6128 par C-E avec photos
-Après la réparation d'un Amstrad NC200 par C-E, c'est le tour de la réparation et le modding d'un Amstrad CPC 6128 (copier/coller du message de CPCWiki, merci pour sa permission).
La dernière fois que je suis allé en Espagne, j'ai effectué de l'archéologie dans mon ancienne chambre, une sorte de capsule de temps vous ramenant dans les années 1980 à 1990. Et j'ai trouvé mon Amstrad CPC 6218 original caché dans un placard à coté de son moniteur couleur. Il y avait également mon ancienne alimentation PC que j'utilisais pour alimenter un lecteur 3,5 pouces et quelques câbles fait maison. Je pense avoir stocké tout cela après avoir reçu plusieurs CPC+ en 1997. Après cela je n'utilisais quasi que les Amstrad CPC 6128+. Le pauvre 6128 était dans un état fatigué, un clavier jauni avec des touches provenant d'un CPC+, un switch ABBA pendant, et beaucoup d'égratignures ici et la...
Cependant, malgré sa condition, ce 6128 était toujours important pour moi. J'ai passé ma jeunesse avec cette machine, moi et des amis à jouer des parties sans fin. J'ai programmé beaucoup de choses dessus et quelques jeux. En résumé, beaucoup de bons souivenirs. Donc, whand je suis renveu au Royaume-Uni, je l'ai rapporté avec moi pour lui redonner une nouvelle jeunesse et le modifier.
La traduction de ce qui suit se fera à partir de demain.
Voila ce que je prévois de faire :
- New caps
- double système d'exploitation
- port Centronics
- switch ABBA qui se respecte
- Reset
- interface 5VCPC
- Floppy drive restoration
and, if possible, internal RAM expansion.
Externally nothing will change besides the little hole for the reset switch and the case modification required to fit the Centronics ports. It will look like a Schneider 6128.
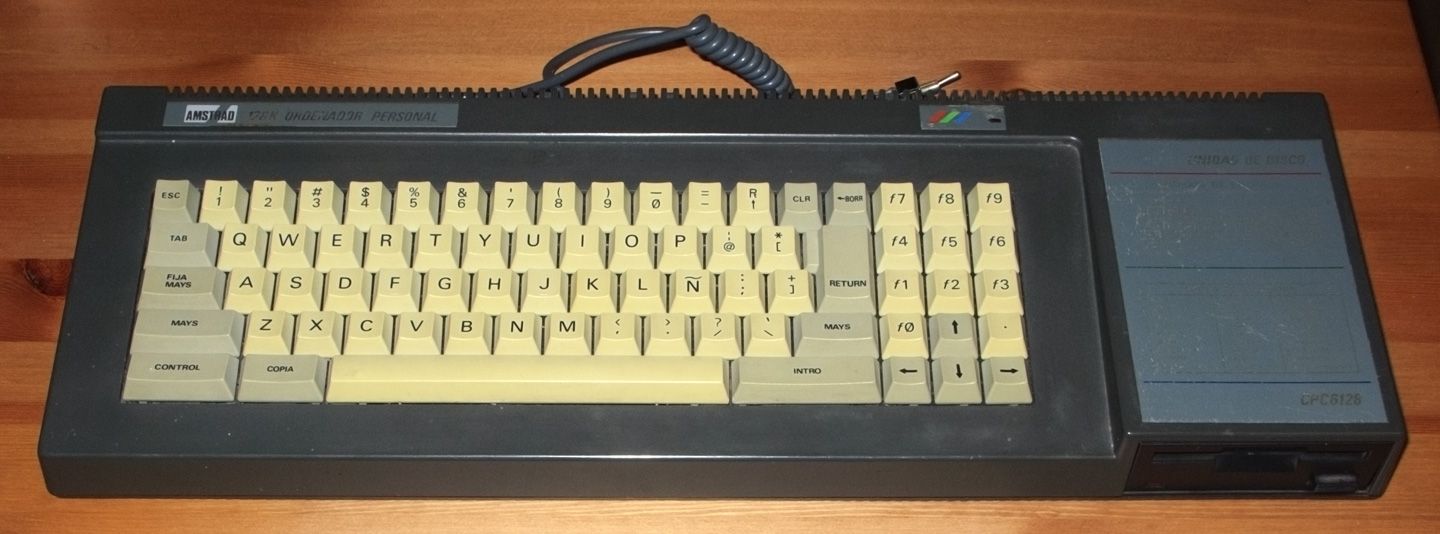
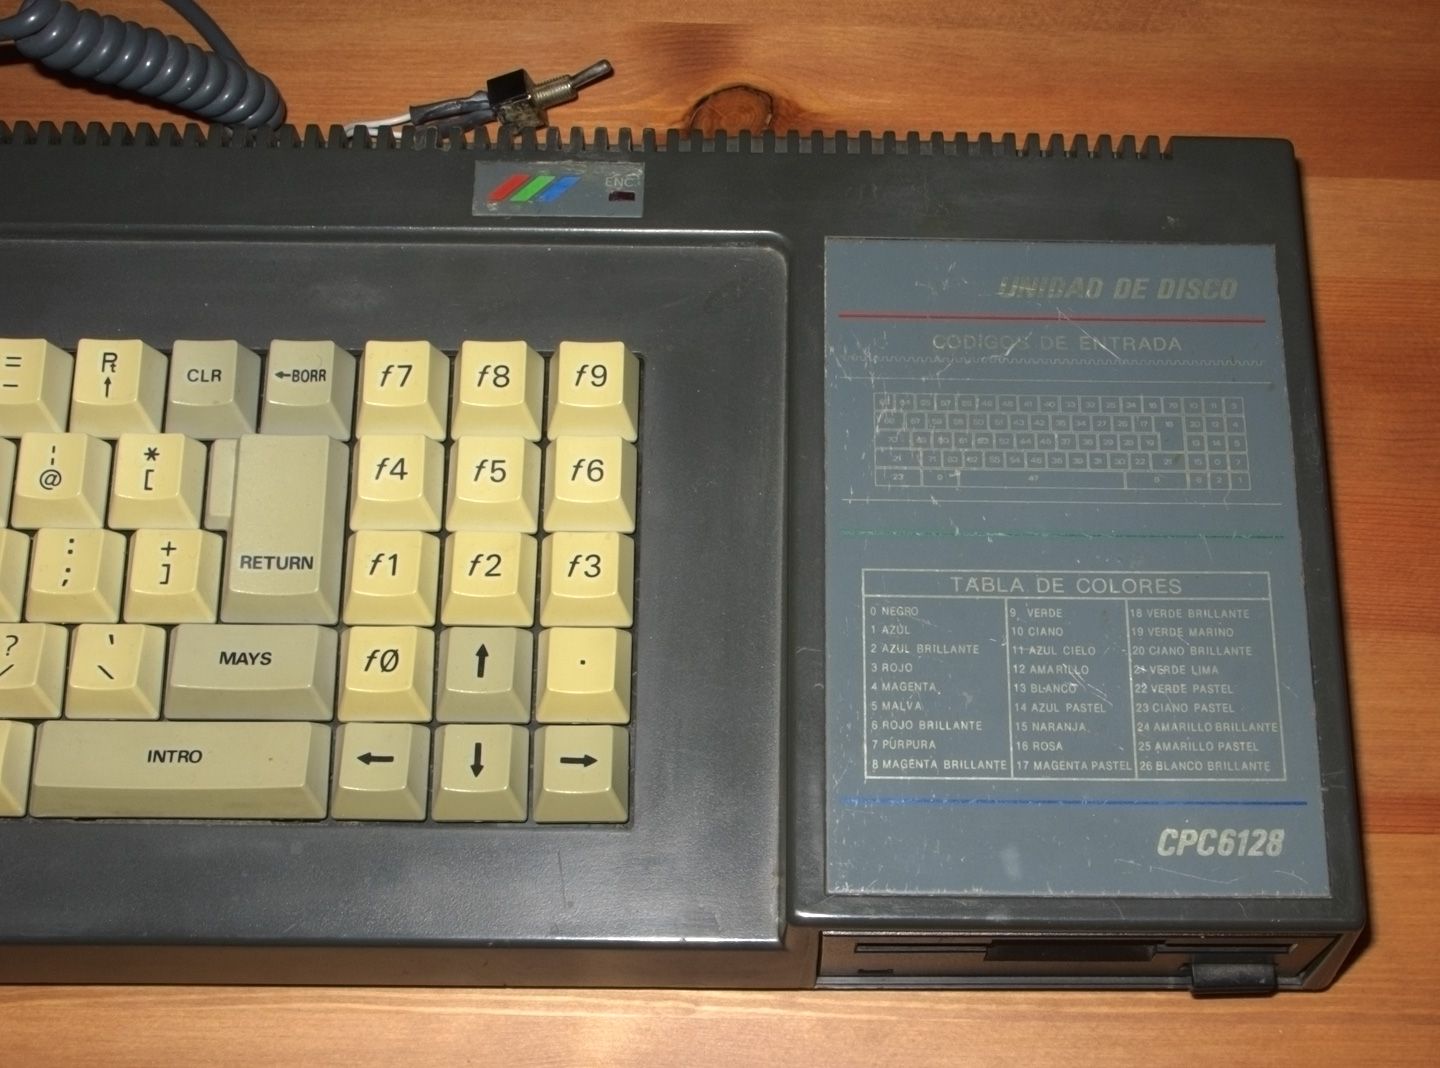
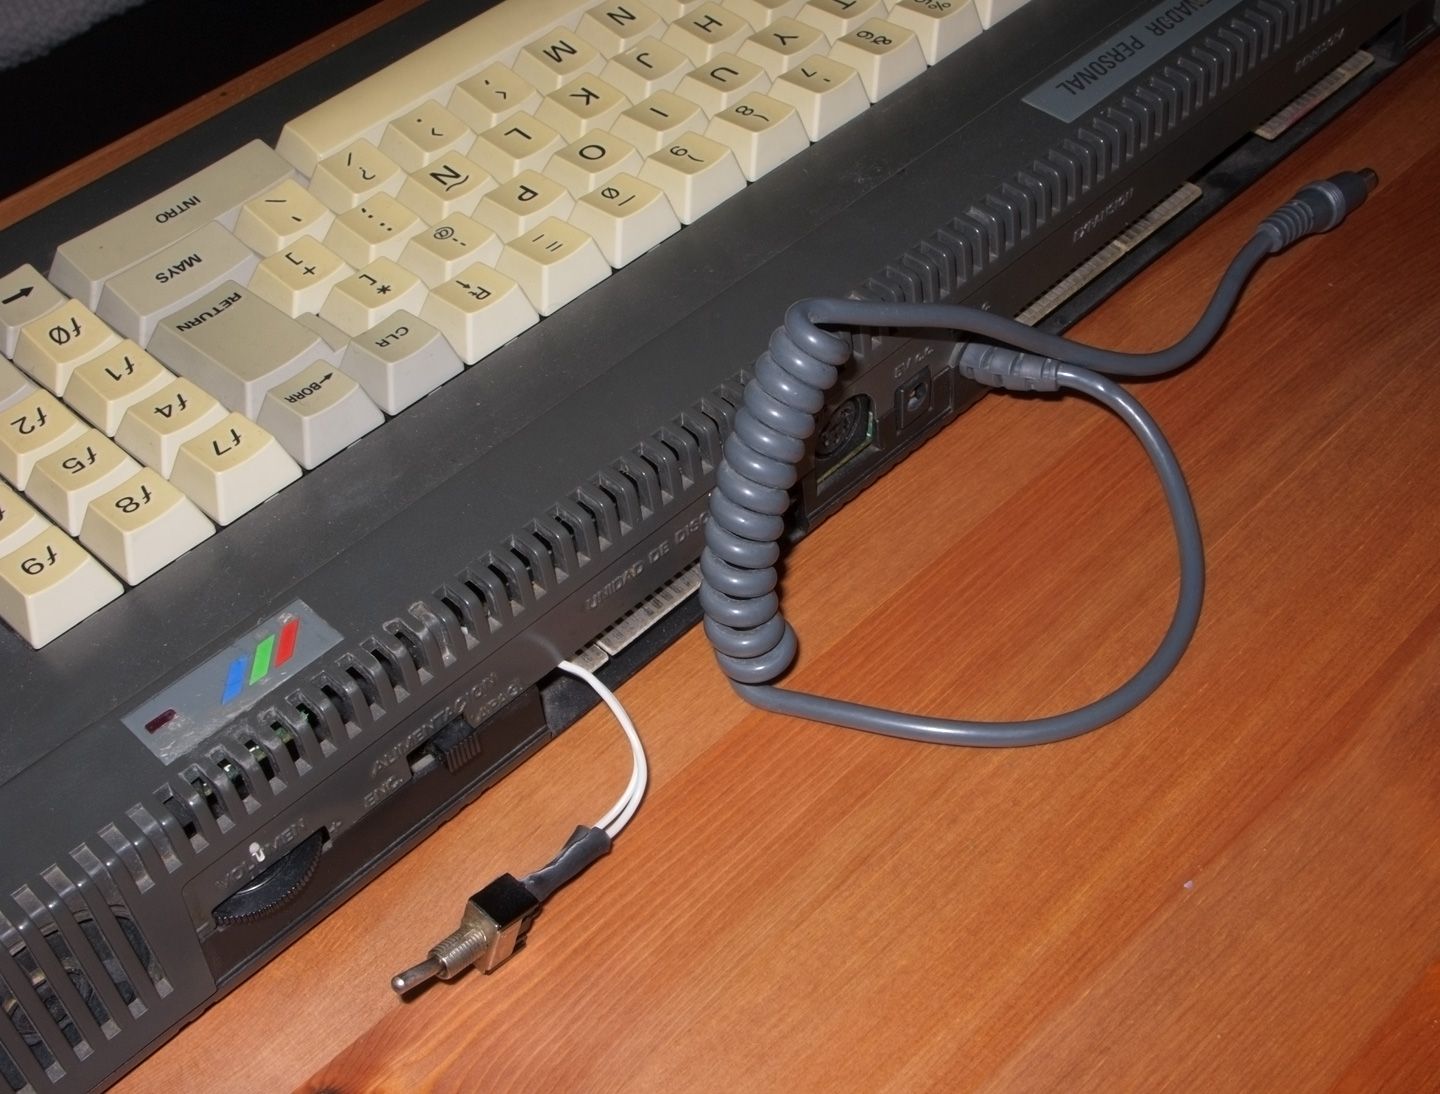
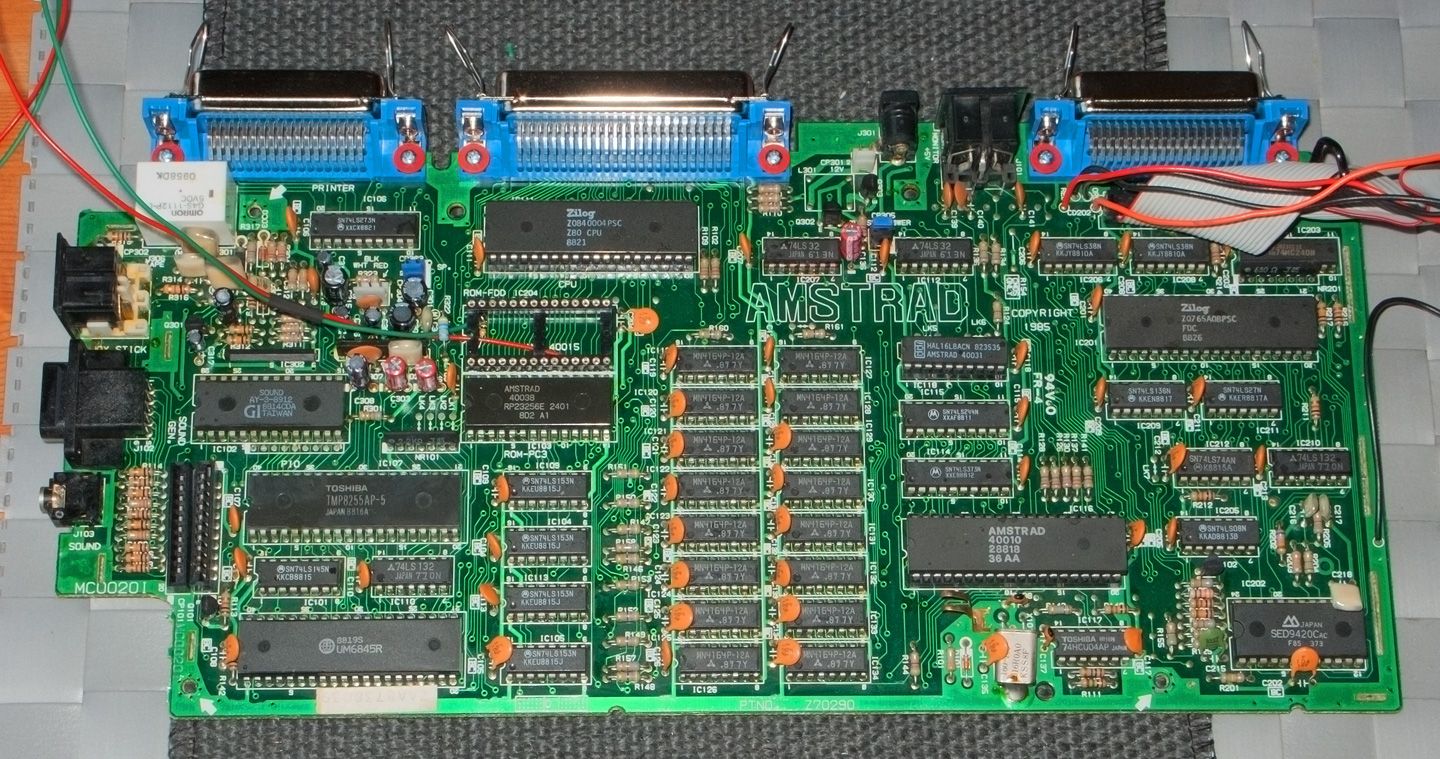
So... I finally had time to do something with my old 6128. It is still a work in progress but I thought that I could give you an update and show some pics :) . The first thing I did was just to remove the board from the case and clean it a bit. Here is how it looked before cleaning. It is a 6128 board version 2.
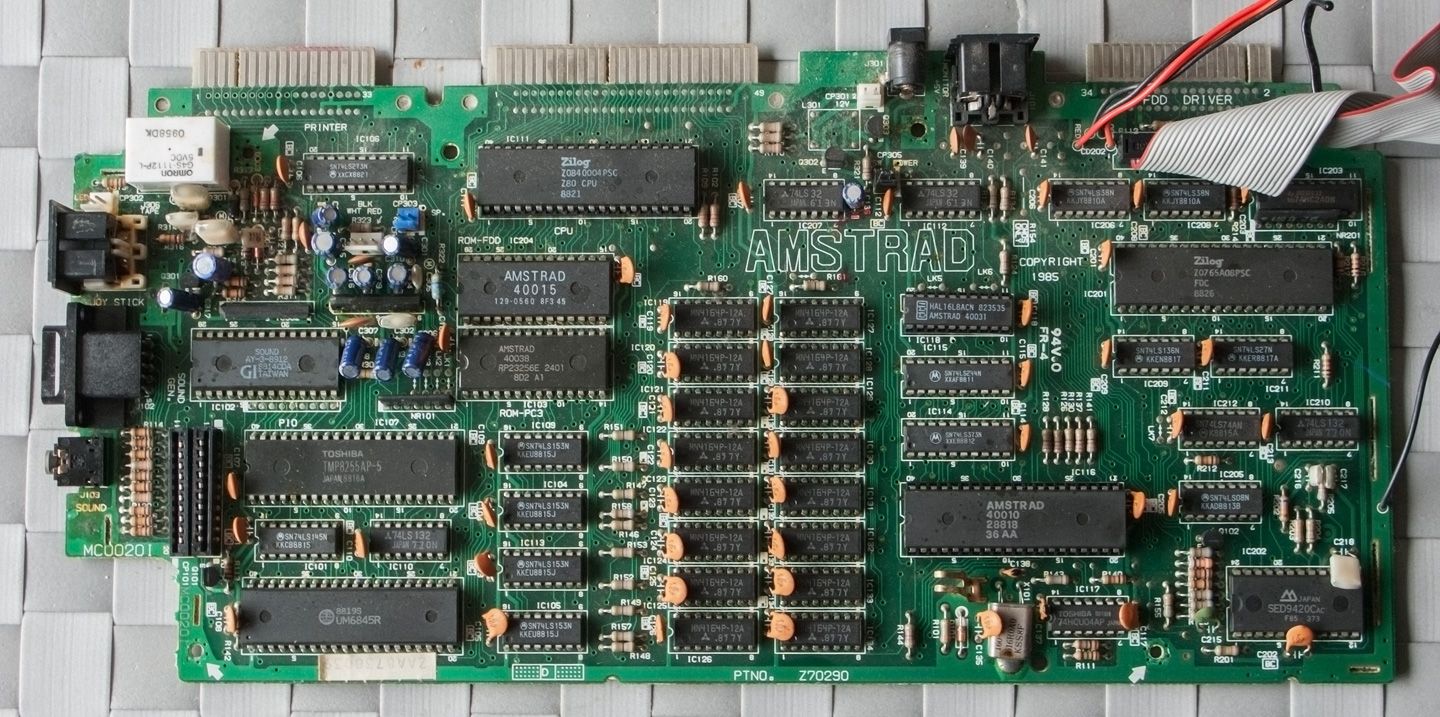
Then, I removed all the electrolytic caps, the 40015 and the solder that was filling the holes for the centronic ports. To remove the 40015 I simply cut the pins and then they were removed one by one. I was using the old good braid all the time. Here is the stripped board.
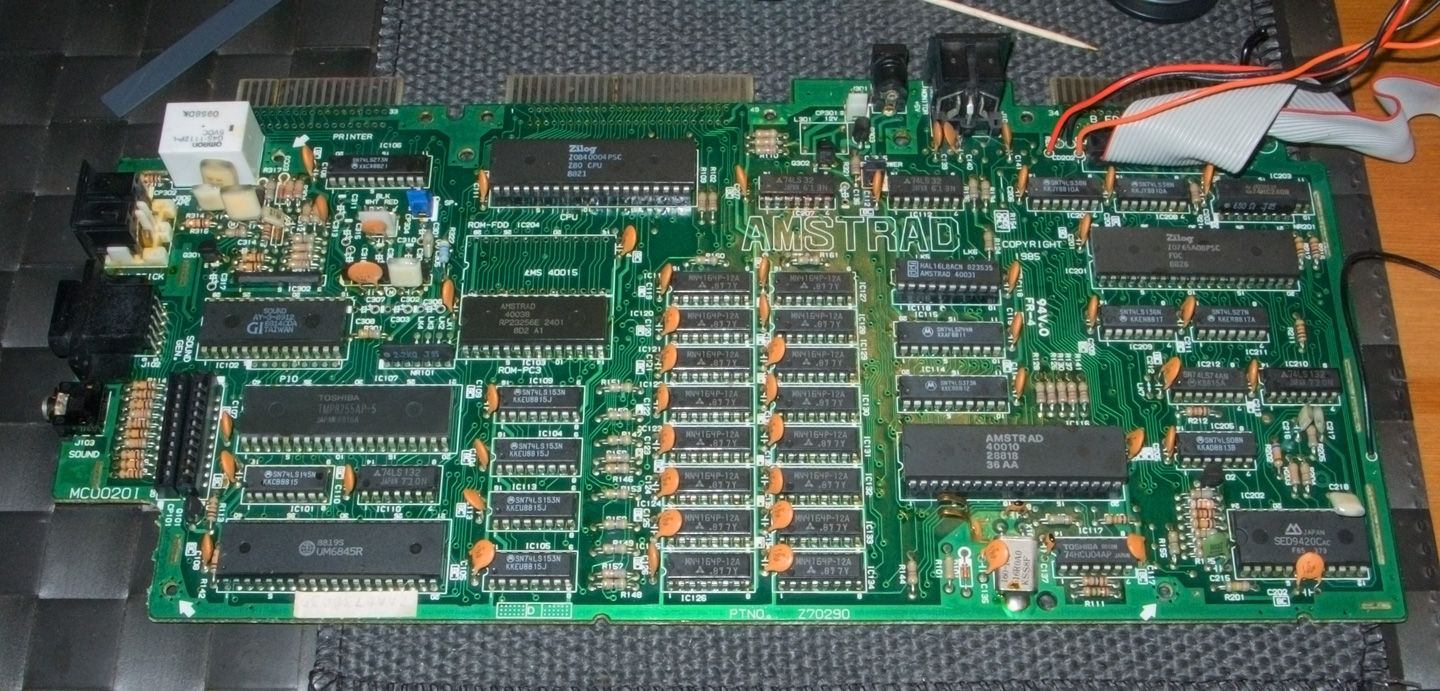
Before going on, I think that it is worth saying that it is NOT necessary to remove all the electrolytic caps in a CPC 6128. The only one that can be problematic if you install the 5VCPC is the cap near the power socket. Bryce found that if it is not OK the computer will likely reset. I just decided to replace them with high grade new ones because I felt like doing it, nothing else :) . In any case, if you decide to change the electrolytics, pay attention to one that is near the AY, it is a 50V 1uF NON POLAR cap.
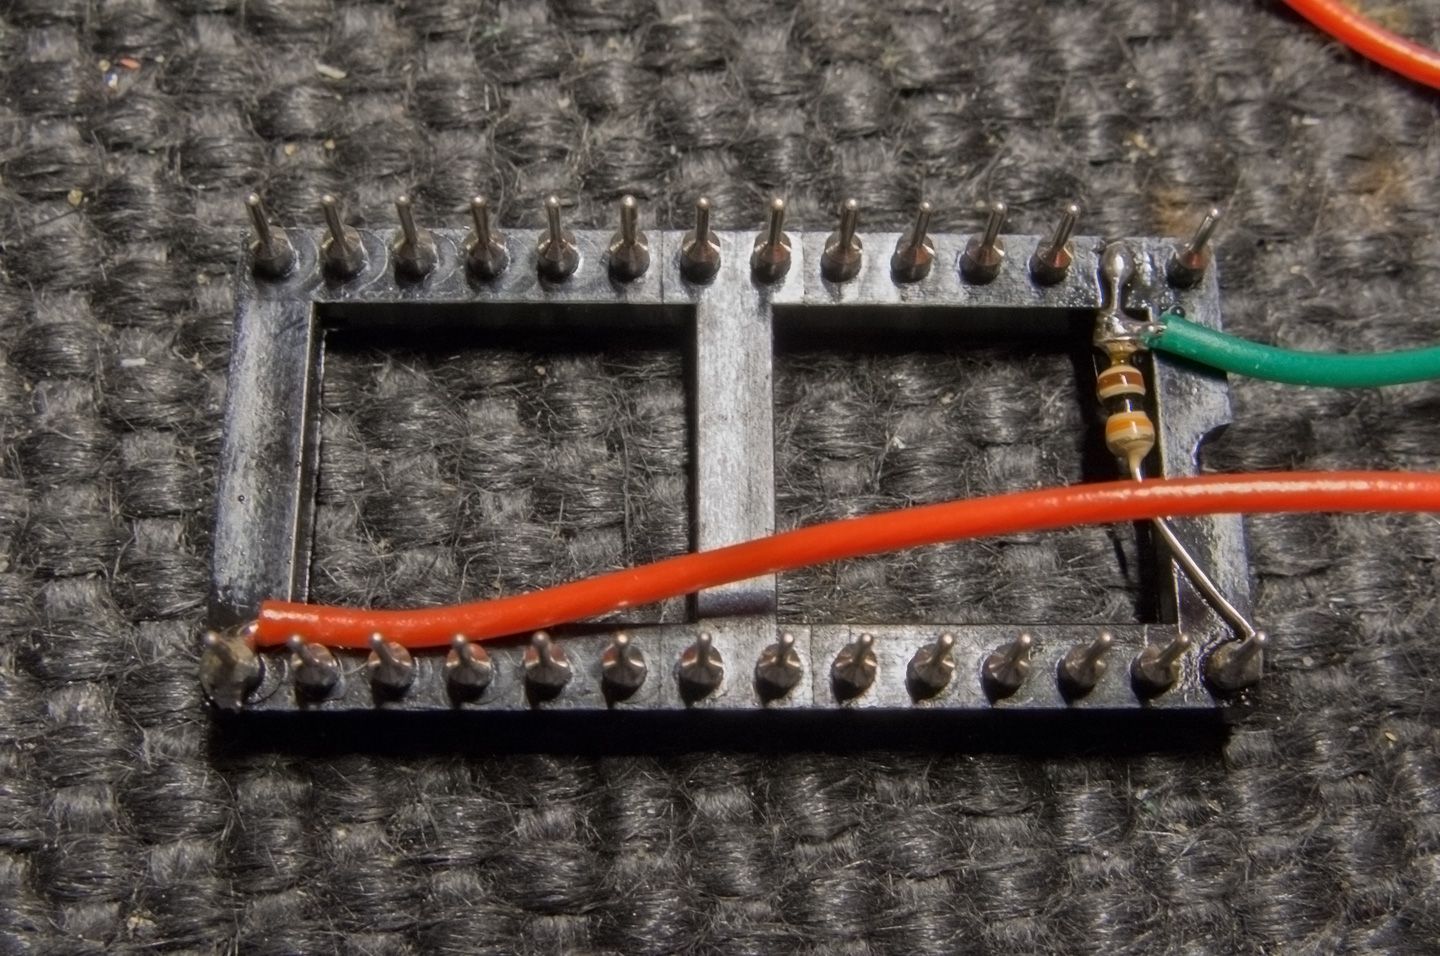
The next step was to prepare the socket for the dual OS. I followed this tutorial from Bryce that describes all the necessary steps in great detail. This is my modded socket :
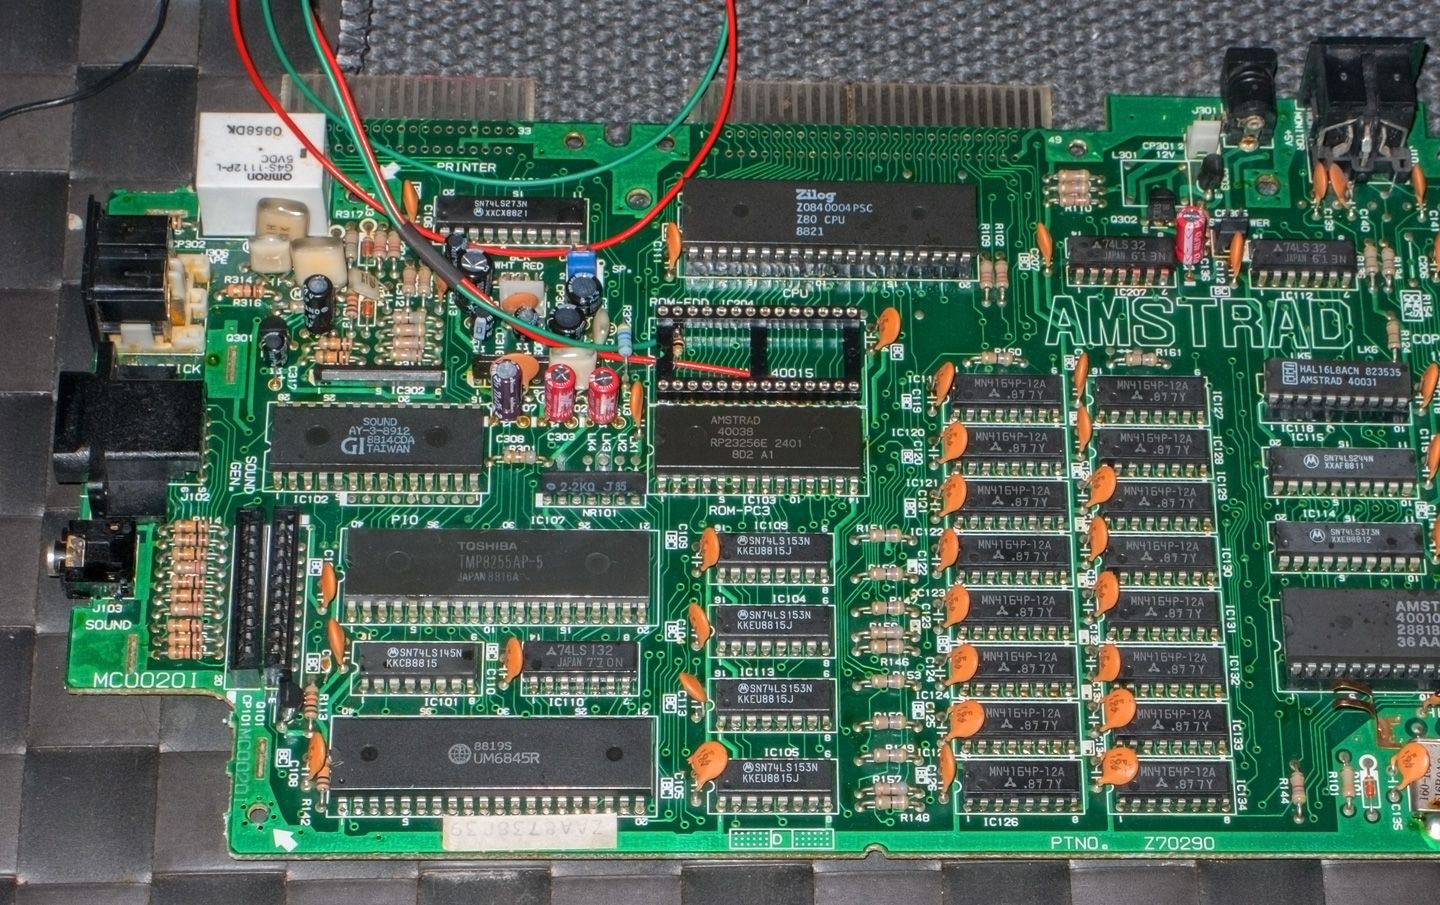
After this I recapped the board and soldered the socket in place :
Finally I installed the new ports. I attached them to the board first using screws and nuts and then I soldered the leads. There are quite a few, but it is still a reasonably fast process.


Et il semble que cela fonctionne... :)
