Archives of Genesis8 Amstrad Page from 1999 to 2025 about hardware, page 16 / 23
An Amstrad CPC ROM board interface with DMA
-
Genesis8
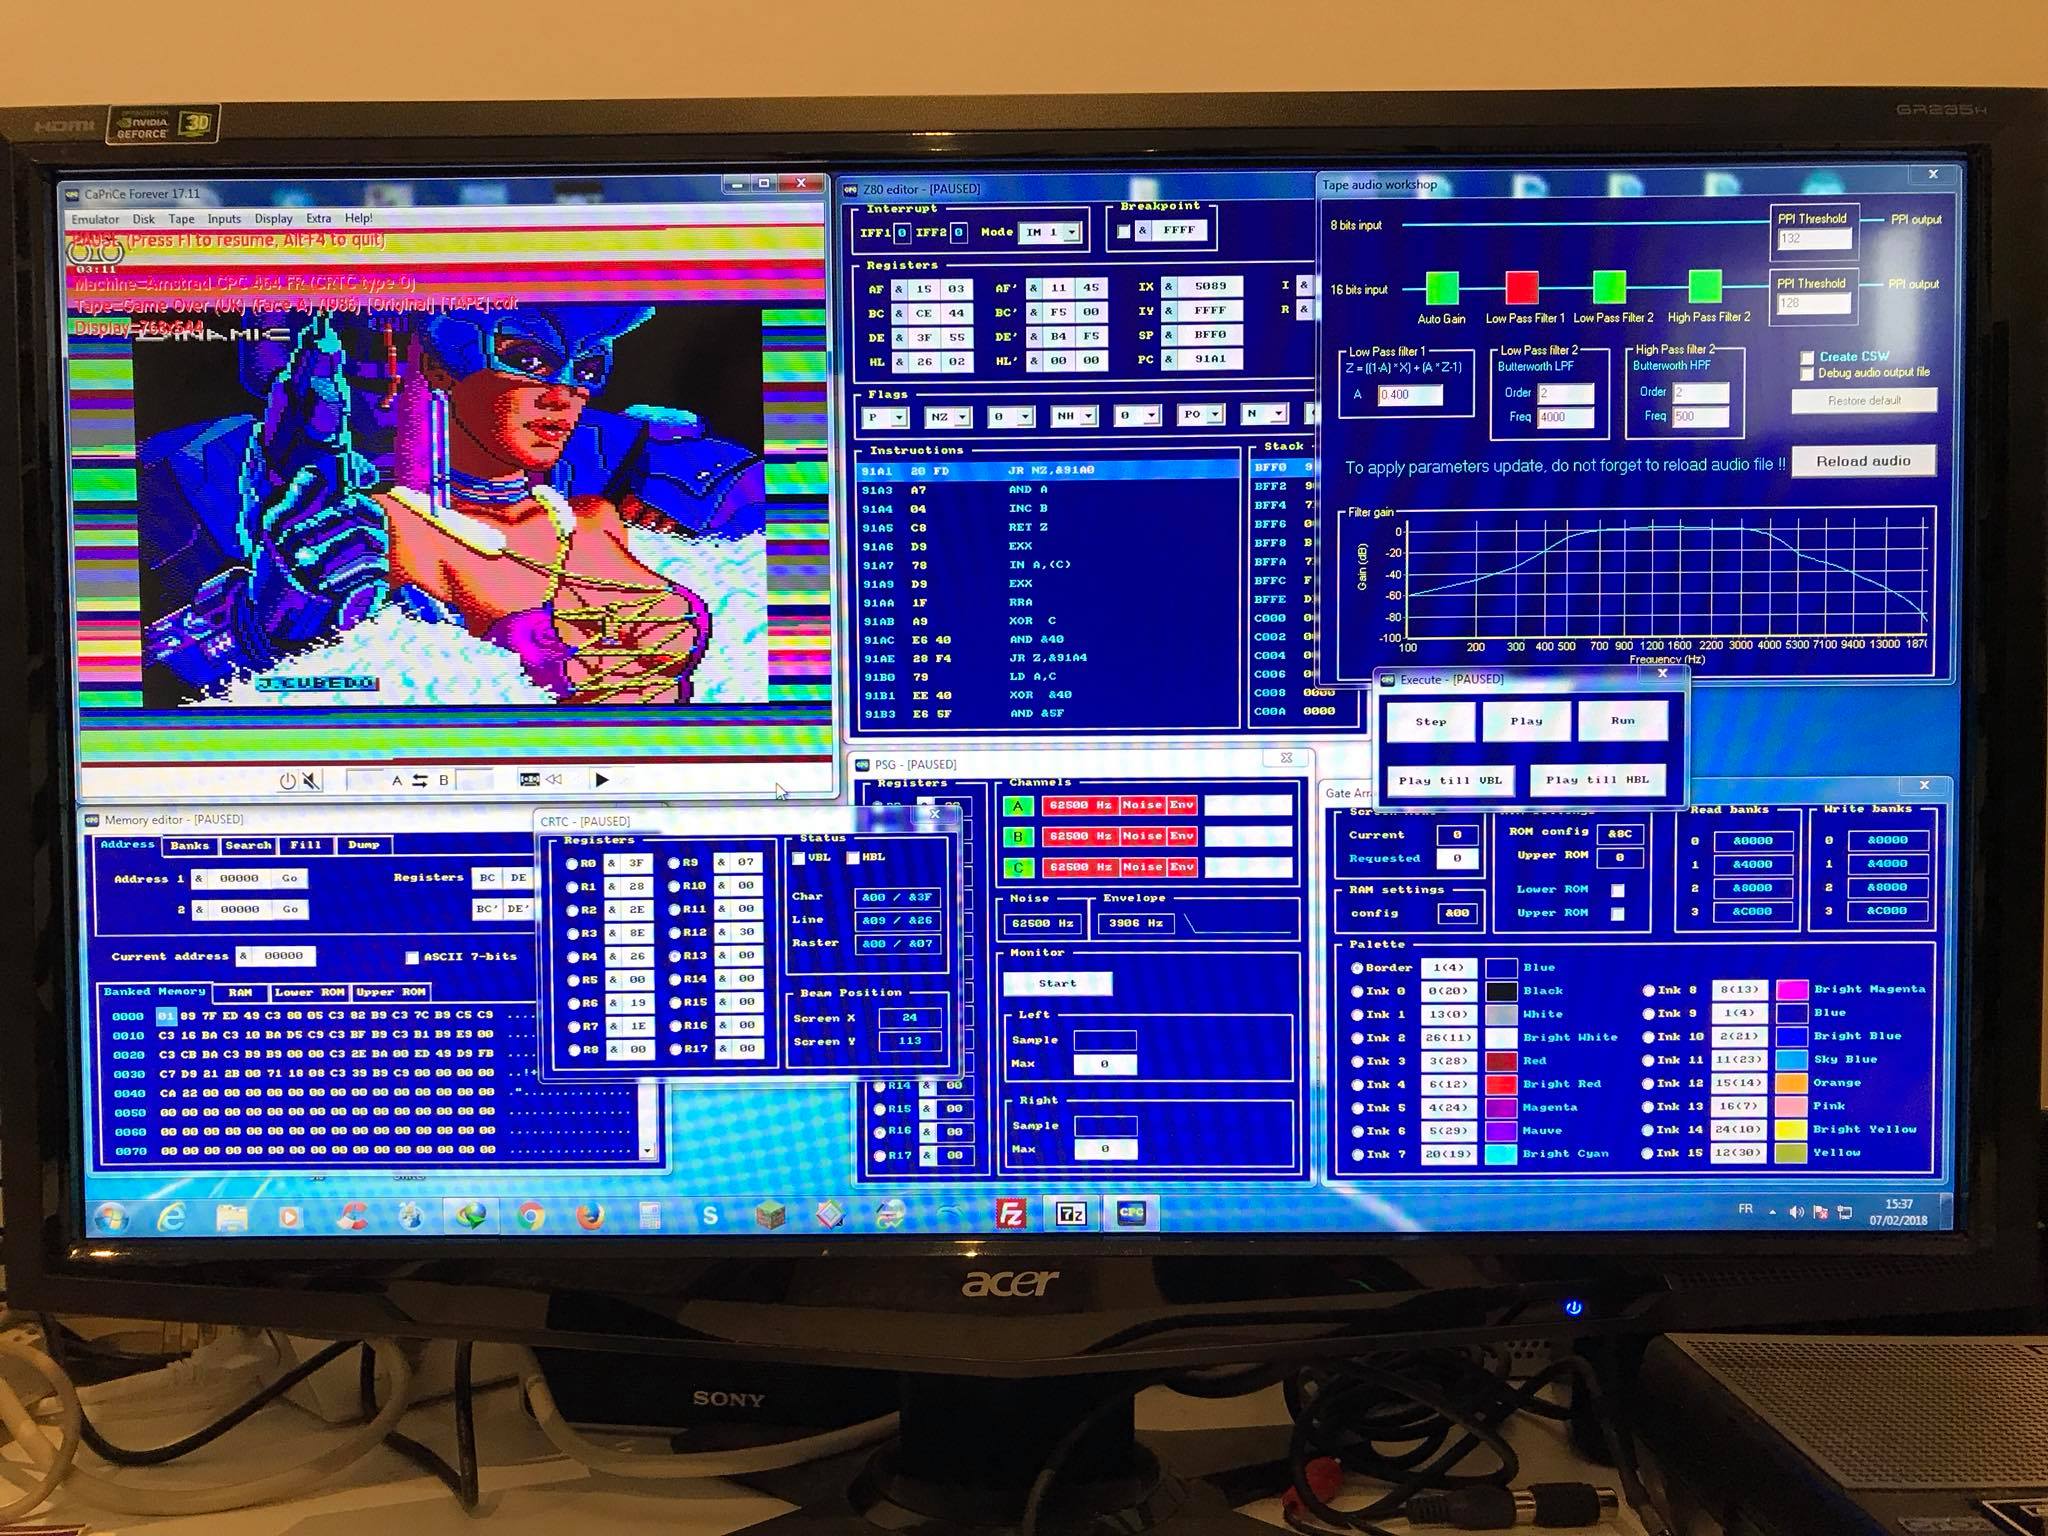
Doragasu started a project in January 2017 about a ROM board interface with DMA transfert. The project is now a reality :
it can play digital audio with approximately 0% CPU overhead. The limits are the bits per sample ( 8 ) and the maximum sample length (64 KiB). Sampling rate can be configured on the fly, and ranges from 3906 Hz to 50 kHz (and beyond)
it can can transfer data from external ROM to internal CPC RAM at 1 byte per microsecond. While doing DMA the Z80 is stopped, but this is much faster than doing the copy using software routines
Amstrad CPC mini incoming, but it's a bad news finally
-
Genesis8
April Fool ALERT, April Fool ALERT
I have received the same email than Markus Hohmann as he announced it on Facebook.
So Alan Michael Sugar is asking to remove all ROMs of the Amstrad CPC firmware for a copyright reason as an Amstrad CPC mini will see the light later this year.
I was waiting for such a beast, but I didnt think about possible consequences. Though I will respect what he is asking as I have never wanted to put illegal programs on this web site.
CPC Dandanator mini v1.0 WIP
-
Genesis8
The extension card ZX Dandanator mini which exists on ZX Spectrum should see the light on Amstrad CPC : the CPC Dandanator mini, announced by XeNoMoRPH on Amstrad.ES.
You can read all the features of the original card on its author web site (see above).
Amdrum support for the Next-Generation Speech Synthesizer by Michael Wessel
WIP IMPDOS by AST, an Amstrad CPC ROM for the XMASS mass storage extension card
-
Genesis8
CubeIOS is out, but AST is still working on his ACMEDOS replacement : IMPDOS for the mass storage extension card XMASS.
New version 130318b of YANCC by SOS for the XMASS extension card
-
Genesis8
A new version of YANCC (Yet Another Norton Command Clone) is available (130318b). It's a text interface to manage your files on the X-Mass and the AcmeDOS ROM with an interface which looks like norton commander or midnight commander).
Fixed Unwanted starts of YANCC during Warm-Reset (e. g. Monty on the Run)
In rare circumstances, some files are copied empty.
In rare circumstances, the ROM-Init of YANCC makes nonsense... (e.g. in "12 Lost Souls")
CubeIOS bugfix
It's this new version which is needed if you want to use the new ROM CubeIOS which replaces ACMEDOS.
CubeIOS, a FAT16,32 IDE-OS ROM for the Amstrad CPC's with XMASS
-
Genesis8
The XMASS mass storage extension card can now be used with another ROM, that is CubeIOS :
Detect (nearly) all Fat16+Fat32-Partitions on your CF-Card, DOM, etc. (1st Partition please). Prefered is Fat32 (should be faster with Save-Commands). You can format the media with e.g. Windows and fill it with data.
Partial longnames.
the usual RSX like |MD, |RD, |REN,....
|DIR + |CD accepts wildcards
Compatibility should be high (i hope so ;) ) - but i'm playing around with a lower-rom-patch to increase compatibility.
The ROM must be placed below AMSDOS and (if used) M4DOS, PARADOS. It's not compatible with ACMEDOS at the same time. YANCC-User should be update to the latest version.
New v2.0.5b1 of the firmware for the wifi card M4 Board by Duke
-
Genesis8
The M4 Board which let you add wifi on your Amstrad CPC just got another firmware v2.0.5 beta 1 :
New version of the firmware for the wifi card M4 Board by Duke
-
Genesis8
The M4 Board which let you add wifi on your Amstrad CPC just got another firmware v2.0.4 beta 10 :
WiFi: Fix WiFi connect issue after upgrade (clear some data and set proper RF cal data).
WiFi: Fix GD25Q32C ESP8266 spi flashchip to work in Quad IO mode.
DSK: Do not show files with system attribute set. (makes better catart too)
DSK: Show '*' after file with "Read Only" attribute set.
DSK: Do not reject strange sector numbers (like AMSOFT disk protection)
VGA counters fix... How can't I see that before ? (found while merging ZX-Uno version...).
Taken into account also in experimental r005.8.16c30 (experimental != validated)
FGPA emulation of the Amstrad PCW by Habi Soft, using a CGA color palet